Inspirations
SEWING TUTORIAL:
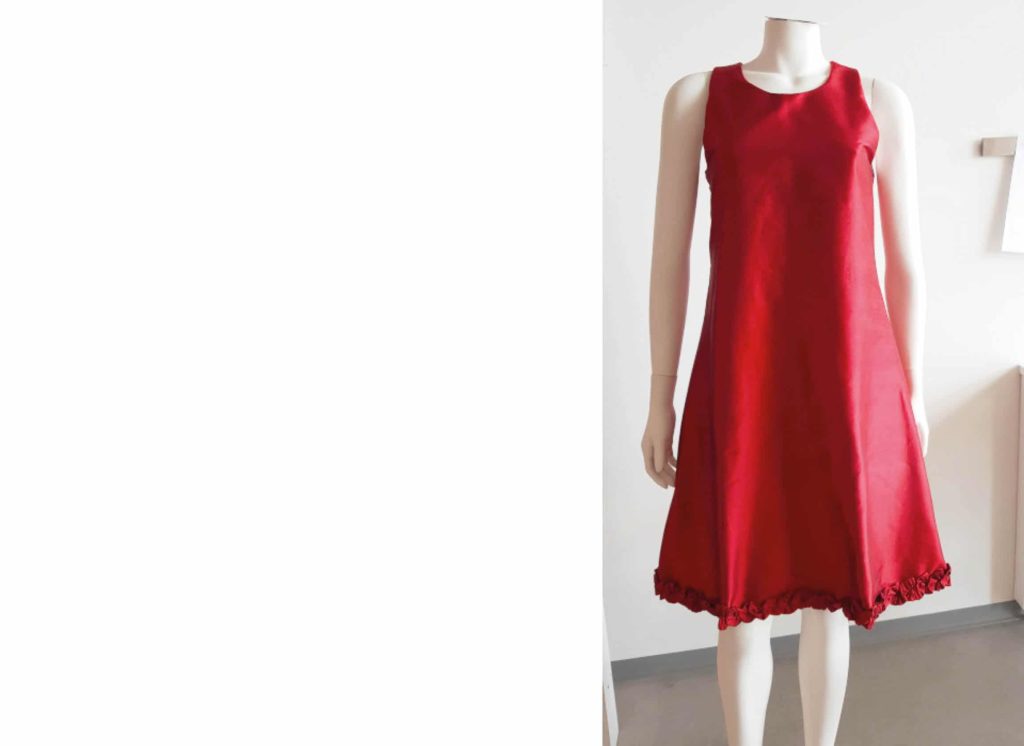
“Dress with decorative trim”
Sewing time: from 2 to 3 hours
Dress creation and preparation of tutorial
Sewing studio P&L Mercier
![]() MATERIALS
MATERIALS
- sewing pattern
- 1 3/4 yards of 60” wide fabric
- thread
- needle
- chalk
- scissors
- pins
![]() ACCESSORIES
ACCESSORIES
- elna electronic sewing machine, from the eXperience or eXcellence series (eXcellence 720PRO in this tutorial) for example
- elna eXtend overlock machine
![]() INSTRUCTIONS
INSTRUCTIONS
Gathered Trim Technique
The following instructions will show you how using a basic gathering stitch on your machine can create a beautiful accent to a basic A-line dress. The most common technique is to use a gathering stitch. This straight stitch is performed on the machine, but is invisible when the item is finished. It allows the fabric to be gathered by pulling the thread, with the fabric curling itself up to give a floral appearance. In order to gather the fabric easily, the stitch used to create a gathering stitch should be set at a longer stitch length. In this case, we used 5 as our stitch length setting. Also, it is important to note that you do not want to use a back or lock stitch at the beginning and end of your seams. Pull approximatley 6” of upper and bobbin thread out at the beginning of the seam and leave 6” at the end. You will use these threads to create the gather and use them to tie a knot at the beginning and end when done. At the beginning and end of your seam, make sure not to back-stitch.
1.
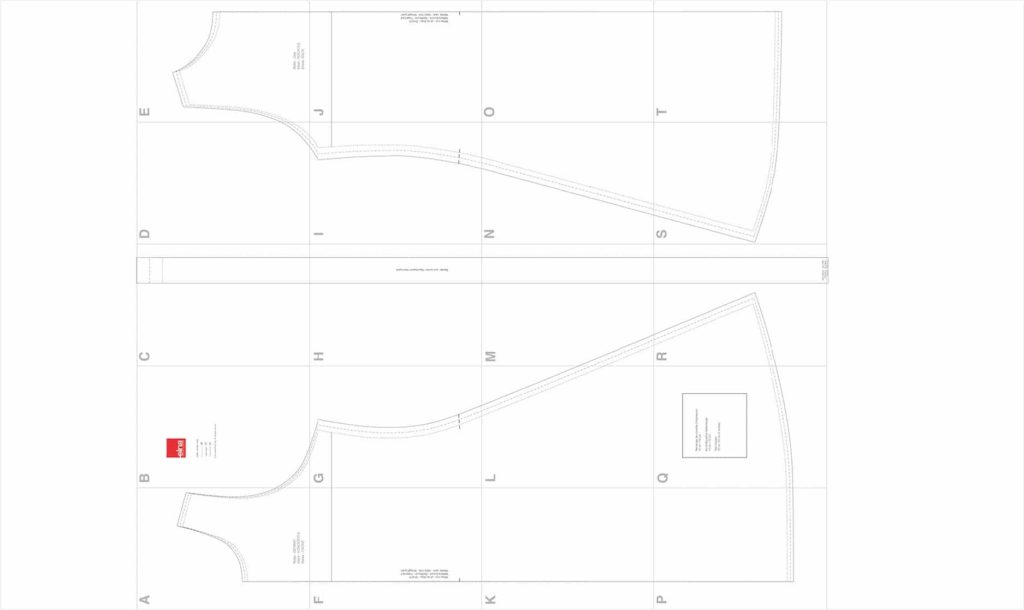
Download the sewing pattern available on this page above. To start, only print the page with the selection window. Using a ruler check that the window measures exactly 10 cm x 10 cm, then print the remaining pages. The pattern is made up of several sheets that must be joined together using the markings (letters and lines). Once the pattern is assembled, adapt the pattern to fit your measurements and cut out the pieces.
2.
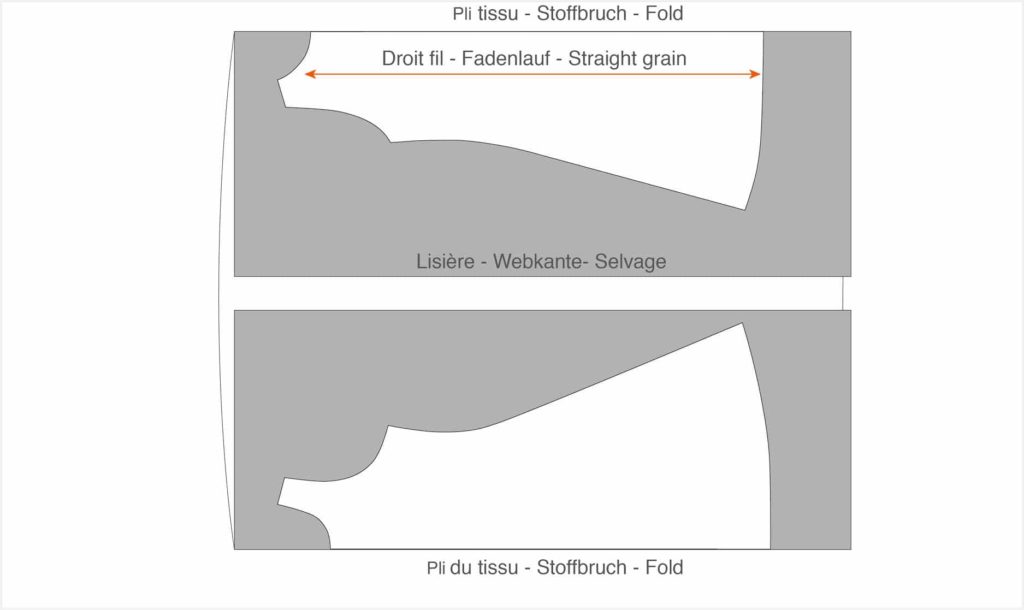
Place the pattern over the fabric with the centre back and centre front over the fabric fold. Cut out the fabric, adding a 5/8” seam allowance all around your pattern.
3.
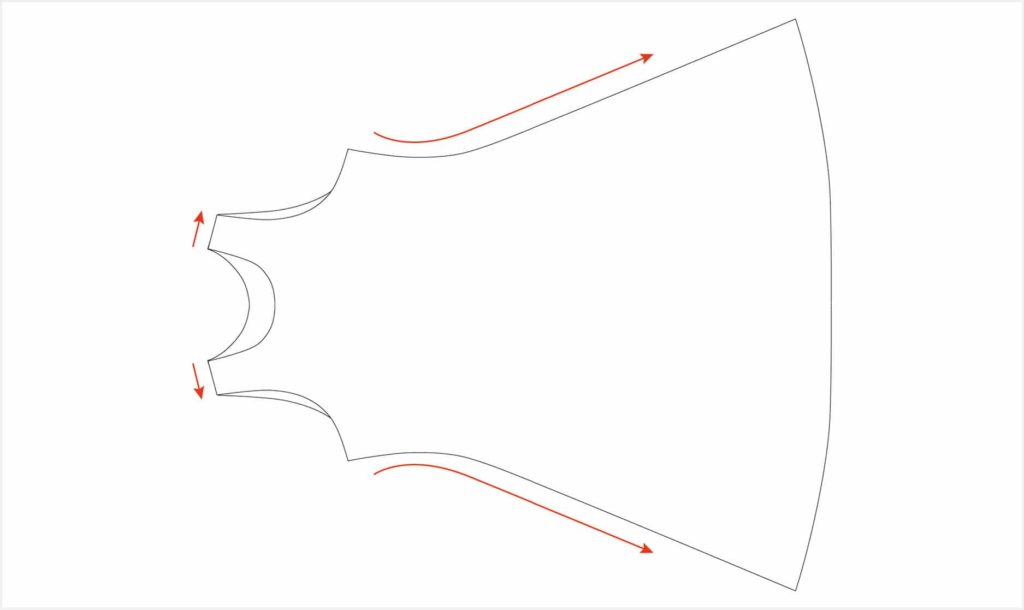
First, use your serger to sew an overedge stitch on the individual sides of your dress pieces. Then, wrong sides together, pin the shoulders and sides of the dress and tack using the 4-thread overlock tacking stitch. Fold the hems of the armholes and neck inward by 5/8” and sew with a straight stitch.
4.
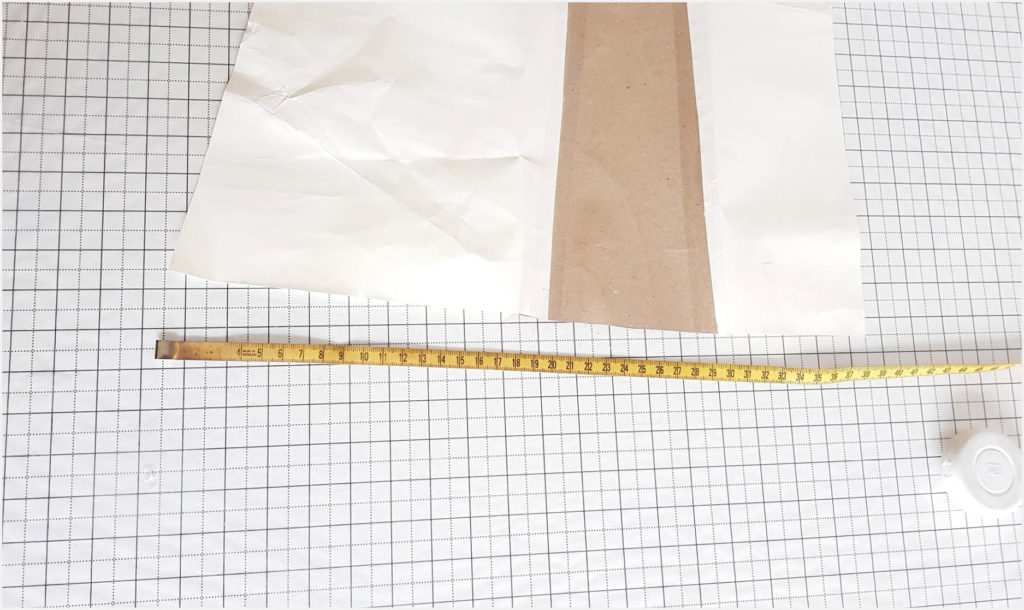
To determine the length of the fabric needed for the gathers, measure the whole outline of the dress, then double it.
Example: total length of the hem + the desired length of the gathers.
Example: 43” + 40” for the gathers = 83”
5.
Ribbon pattern
Length according to the frill of your dress. e.g. 83 inches
Width between 7/8” to 1”, and 5/8” for the seam.
6.
Determine the decorative length (gathers) of your dress depending on the shape and size you want to give the gathers. The longer your ribbon, the more emphasis on the gathers.
7.
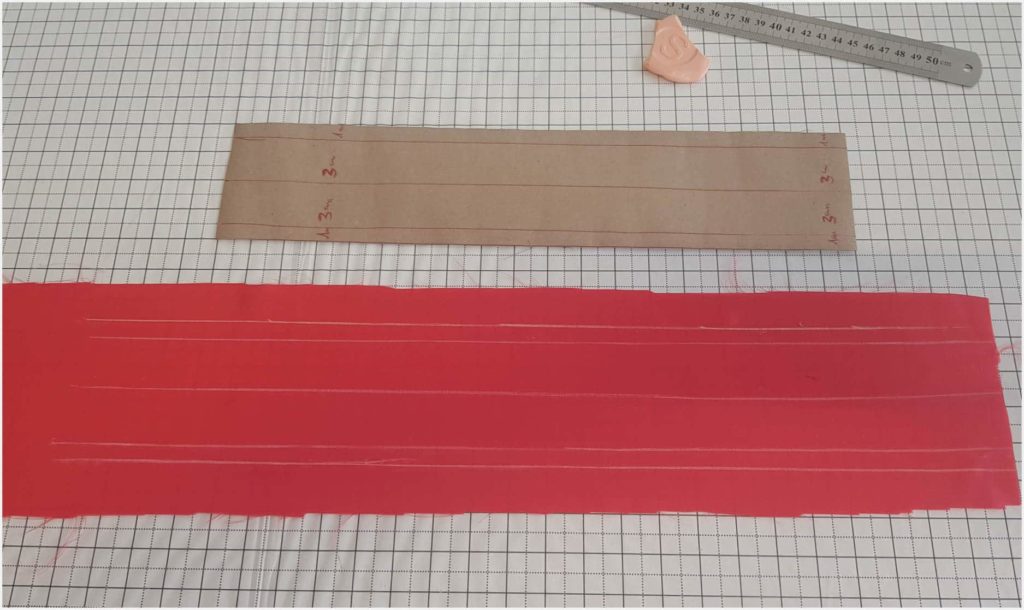
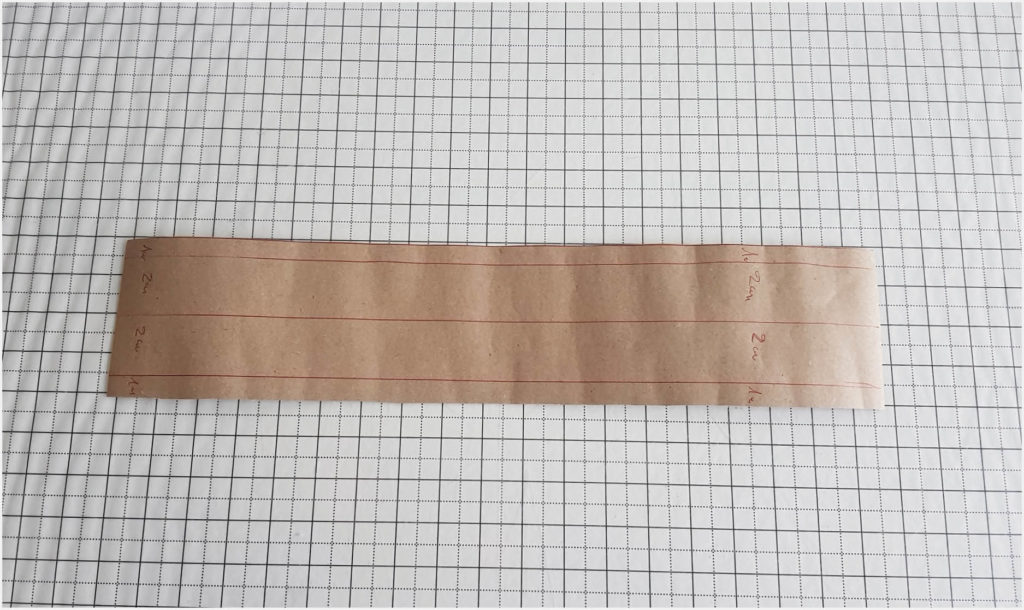
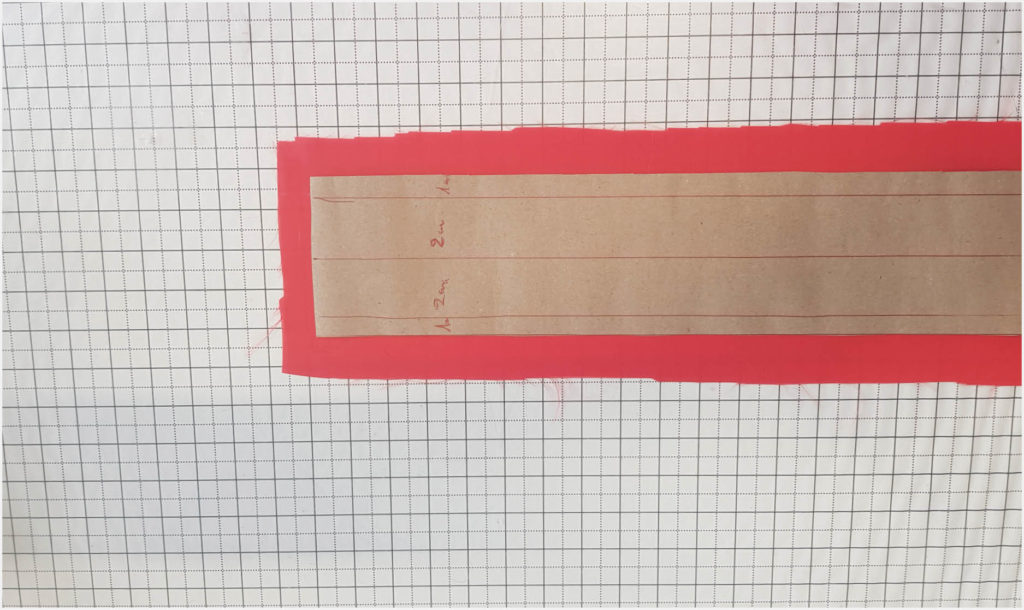
With a piece of chalk, draw the ribbon pattern over the fabric (pin the pattern on the fabric to hold it in place).
8.
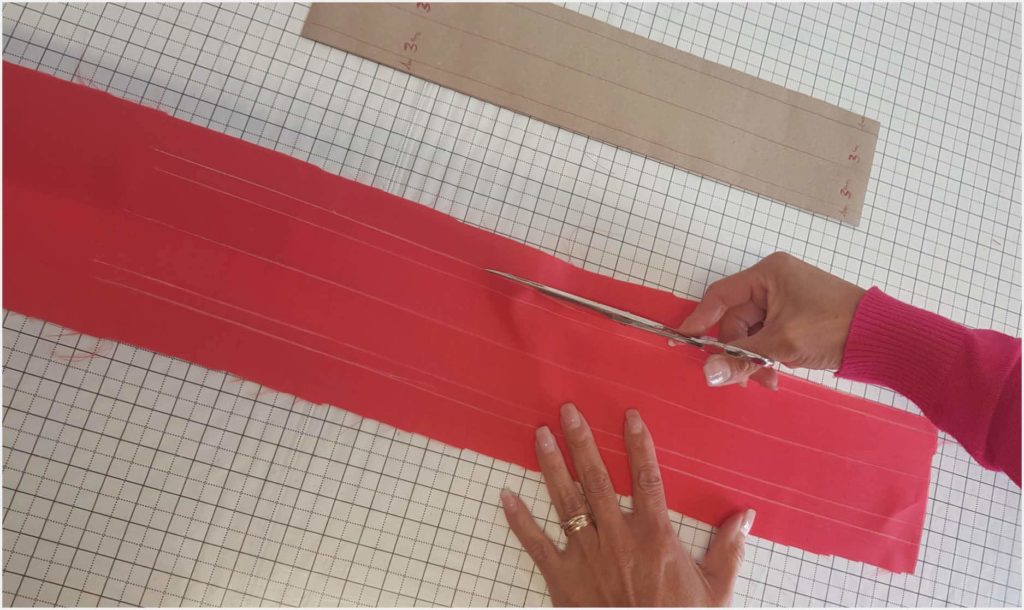
Cut along your horizontal line.
9.
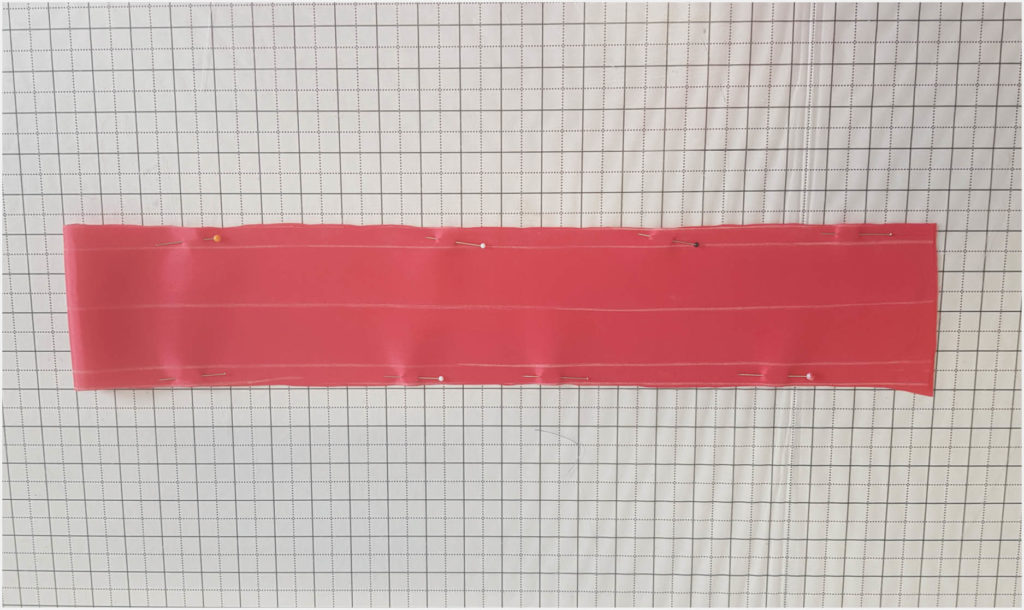
Leave a 5/8” seam allowance on each side and fold the ribbon in half width-wise.
10.
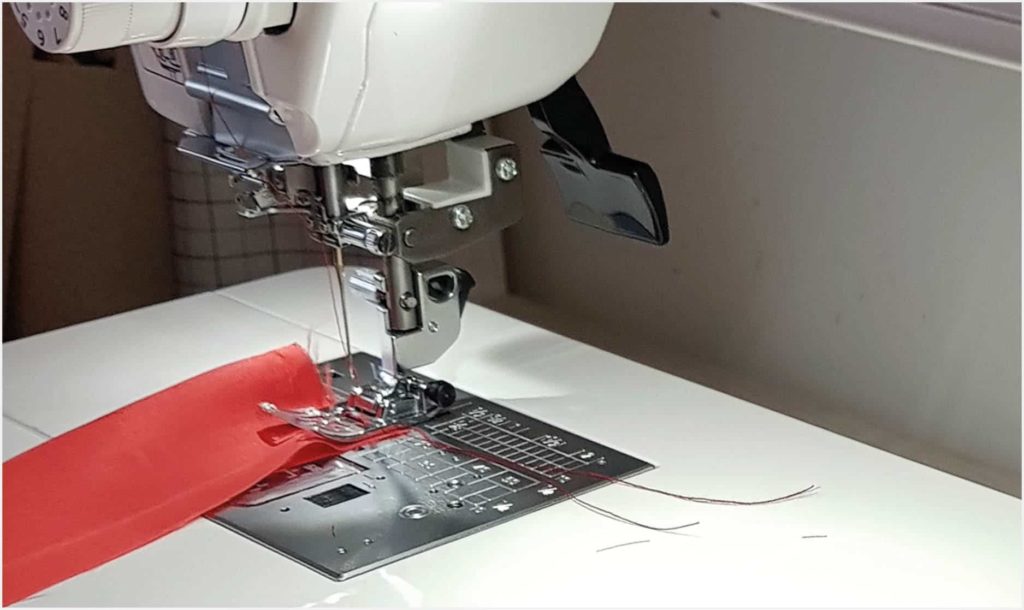
On your elna machine, attach the standard “A” foot for a straight seam, select the straight stitch and sew.
11.
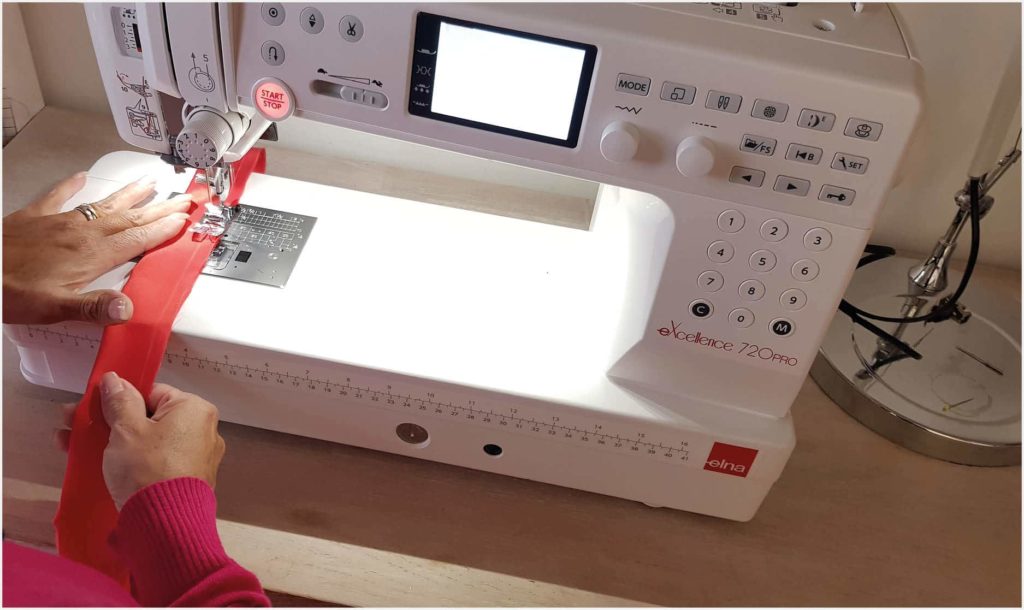
Sew a straight line along the entire length of your ribbon 5/8” from the edge.
12.
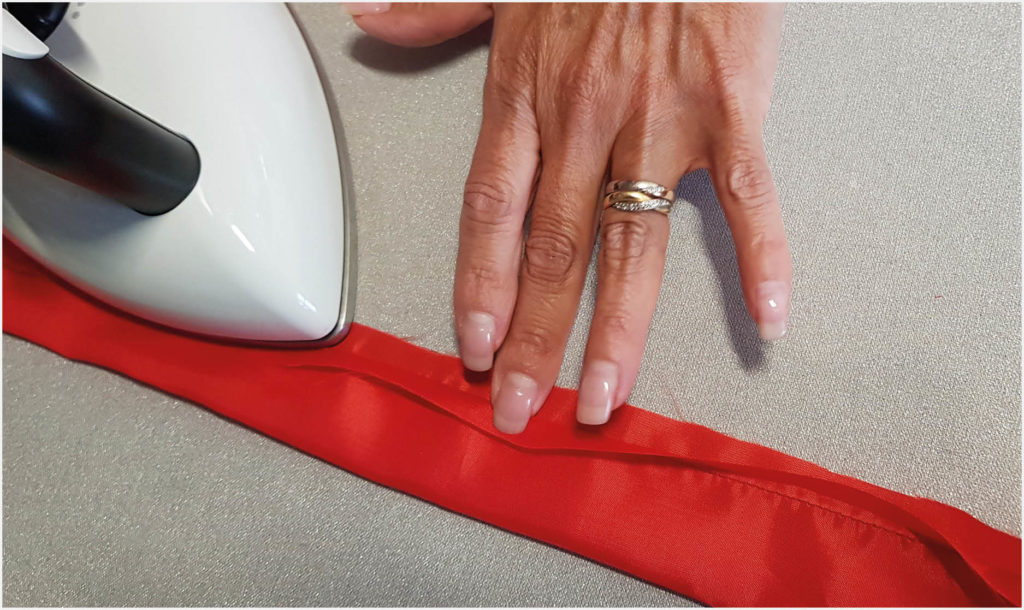
Iron the open seam..
13.
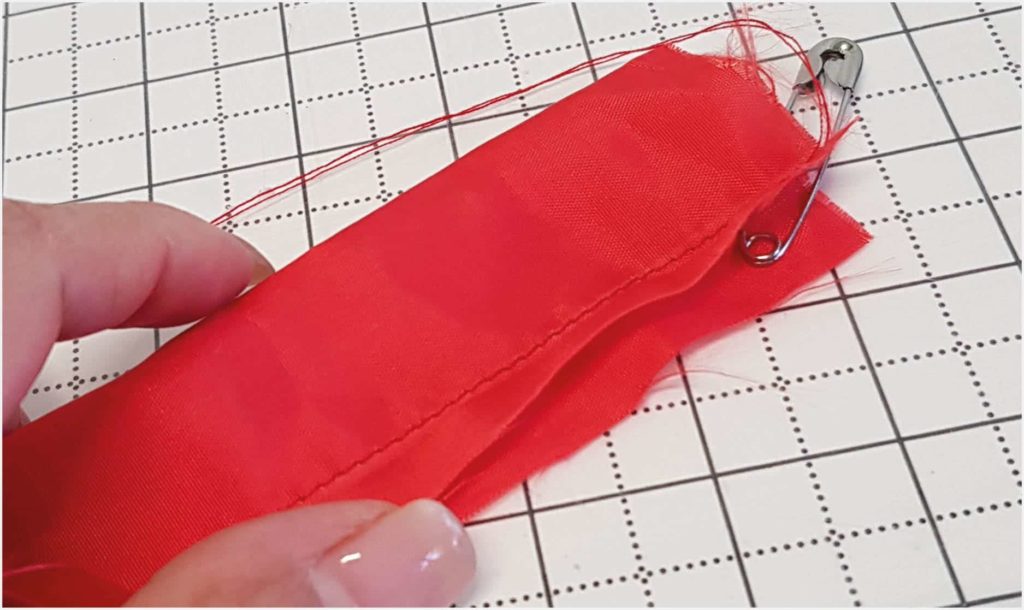
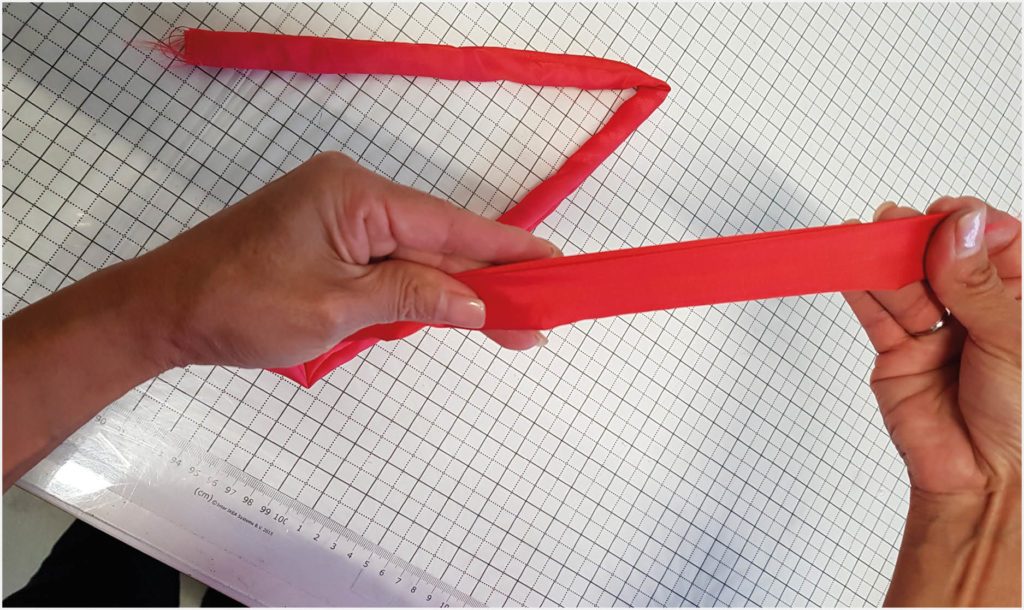
Attach a safety pin to one end of the ribbon.
14.
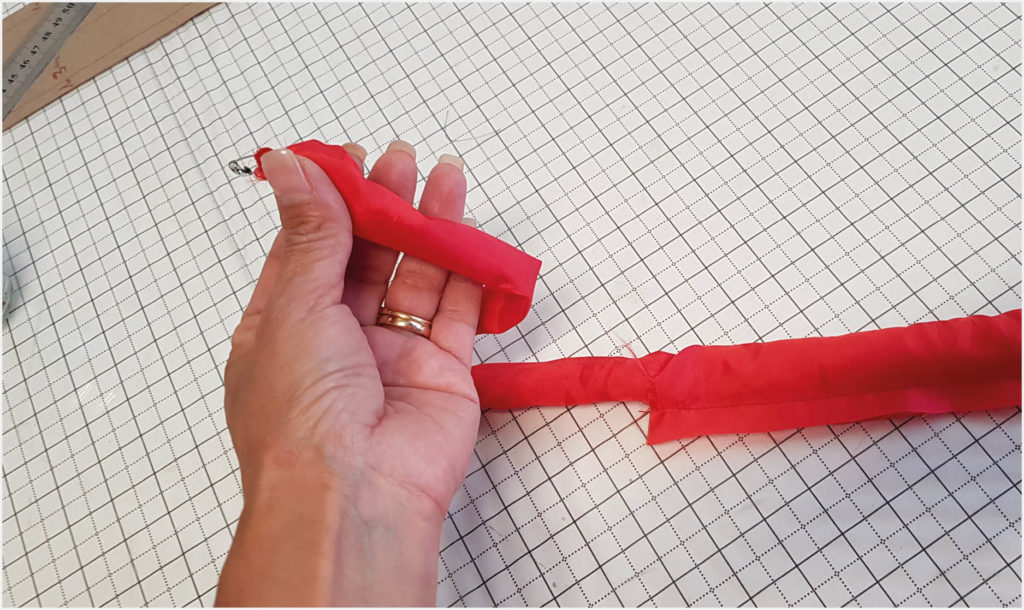
Place the safety pin inside the tube and gather the fabric to move the pin forward and push the fabric inside the tube. Pull the pin out when it appears at the other end of the tube to fully uncurl the ribbon the right way round.
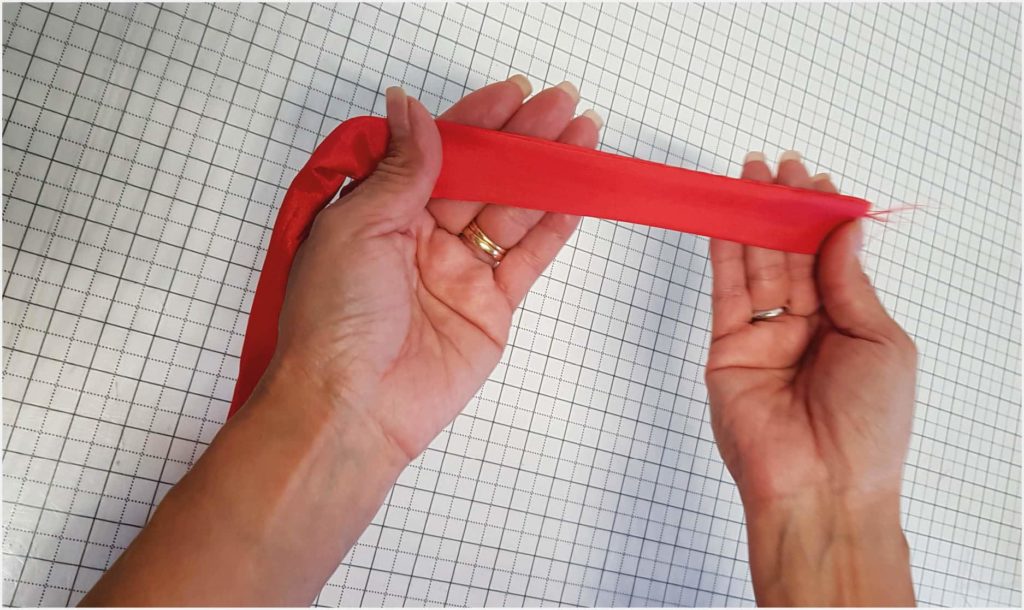
15.
The ribbon is folded and ready for the gathers.
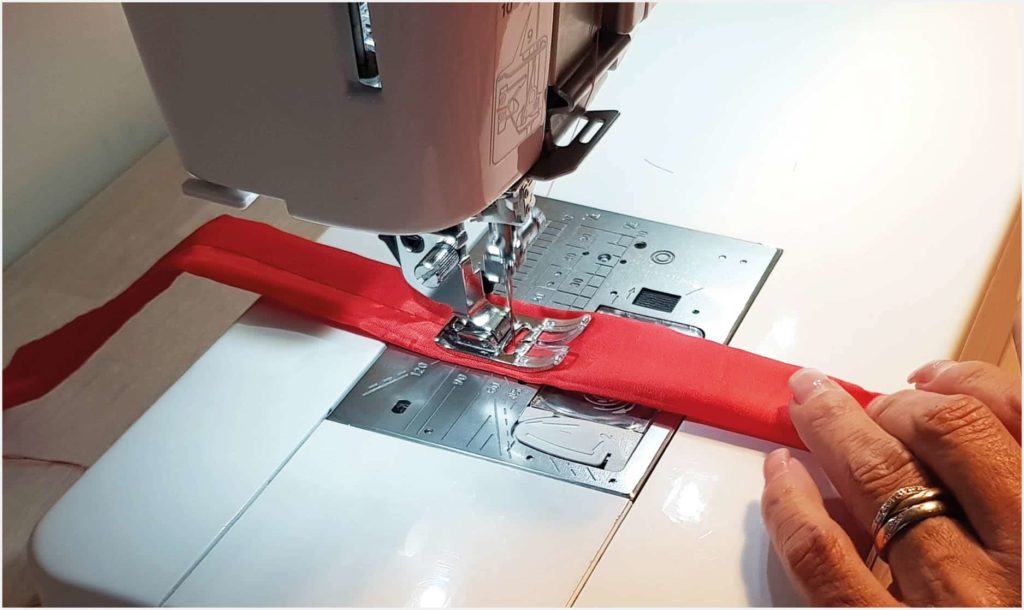
16.
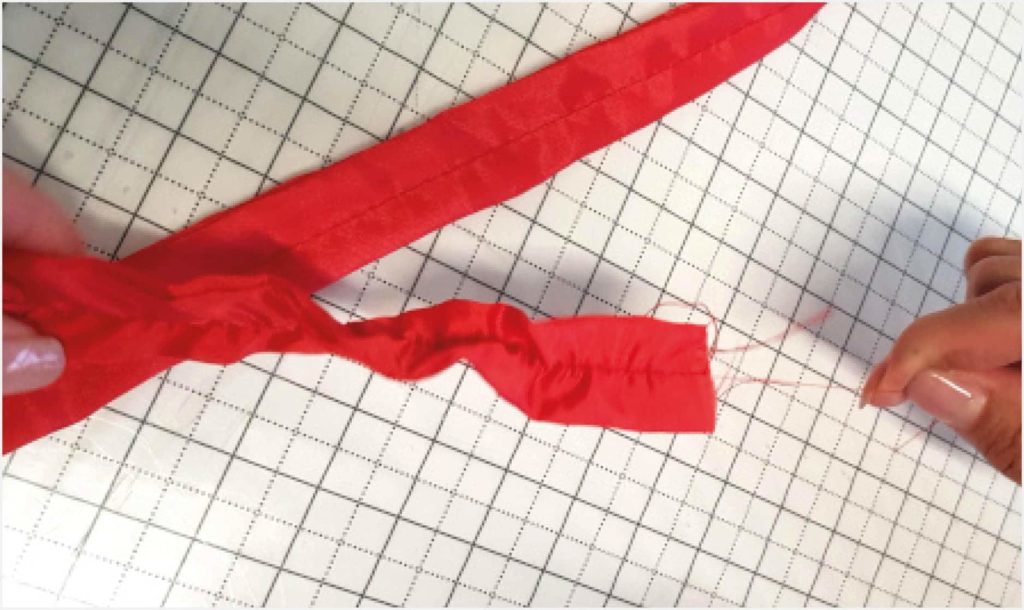
Gathers Sew a line of gathers in the middle along the entire length of the
prepared ribbon.
17.
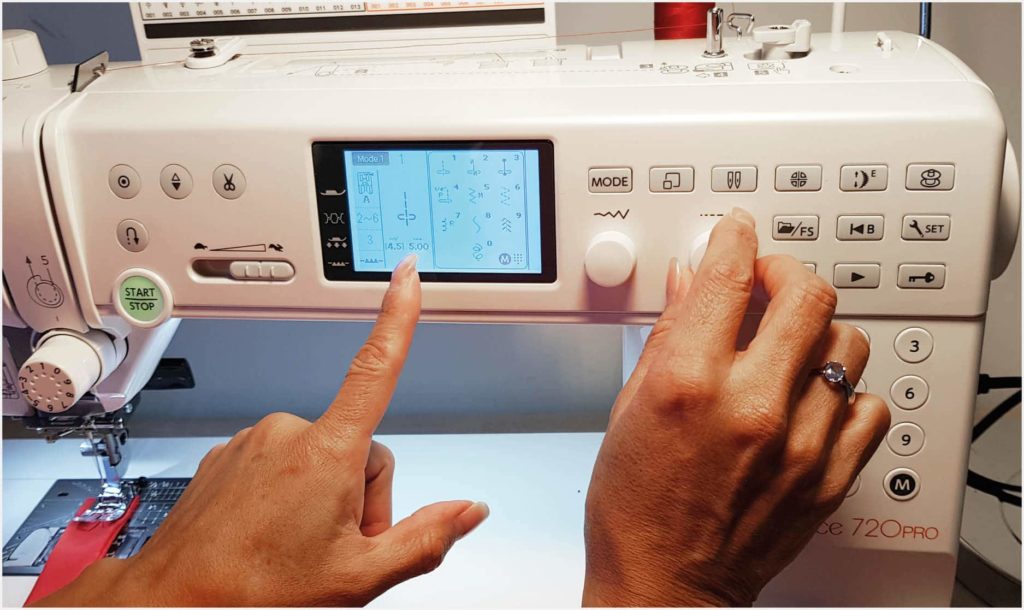
To do this, make a straight stitch with a stitch length of 0.5 cm in the middle of the ribbon.
18.
At the seam end, do not sew the lock stitch at the beginning.
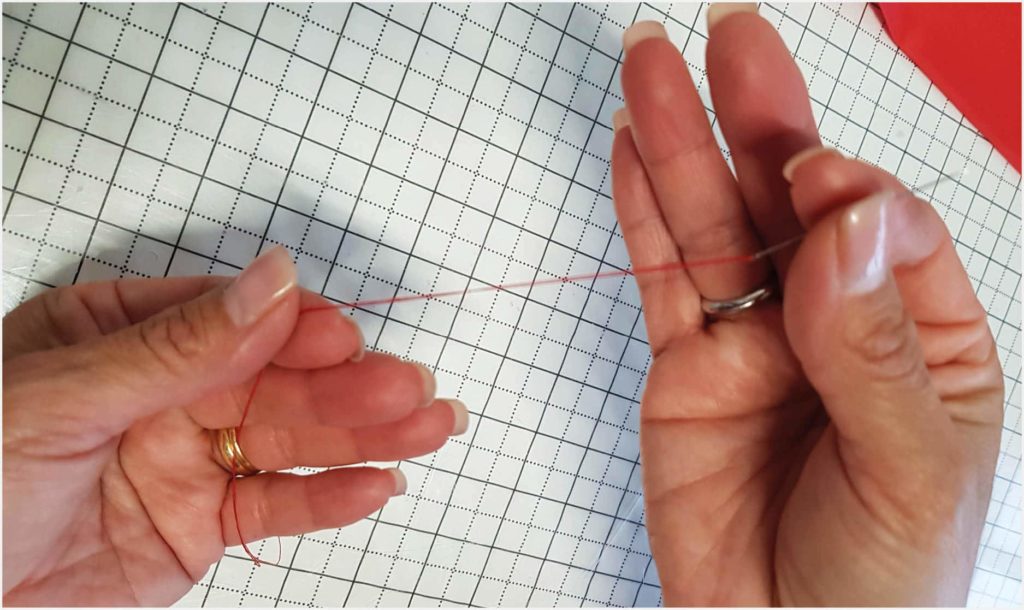
19
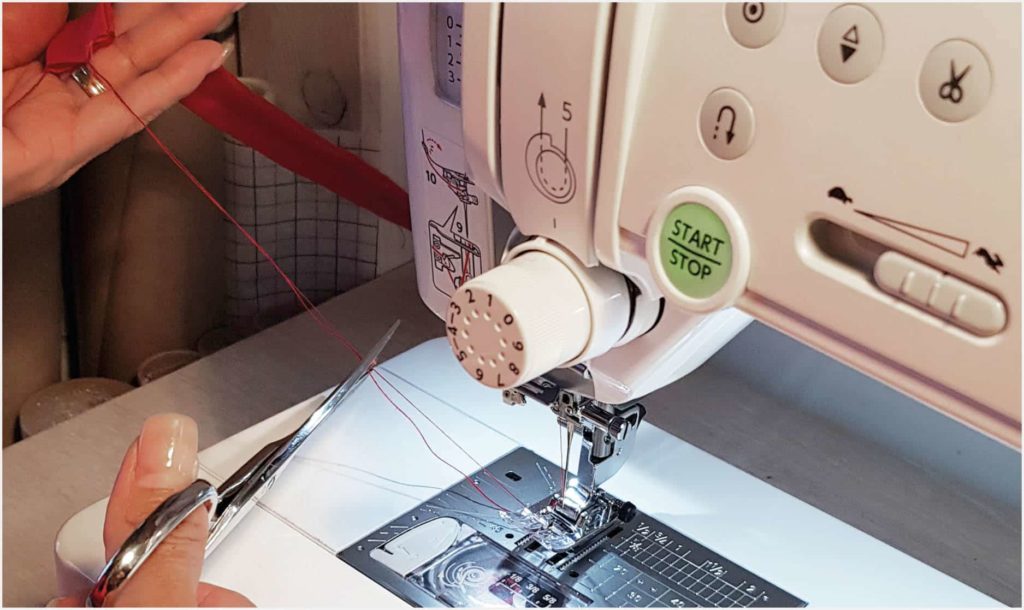
When removing the final piece from the machine, make sure the needle is well raised, and pull the thread to cut at least ten centimetres of thread from the seam end.
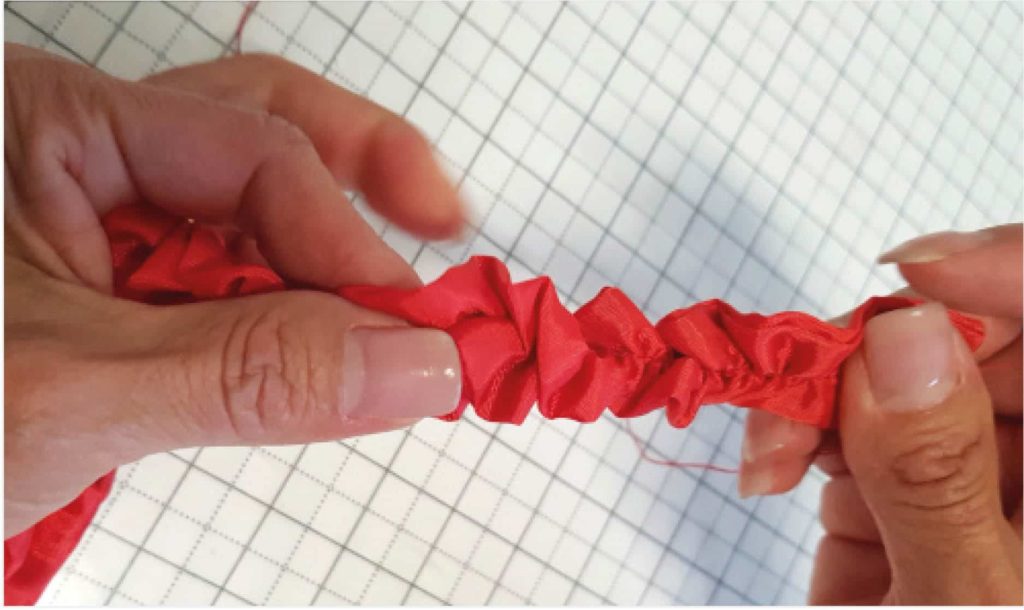
20.
Sewing of the gathers is now finished. Divide the length of the ribbon into four parts and mark with markers.
21.
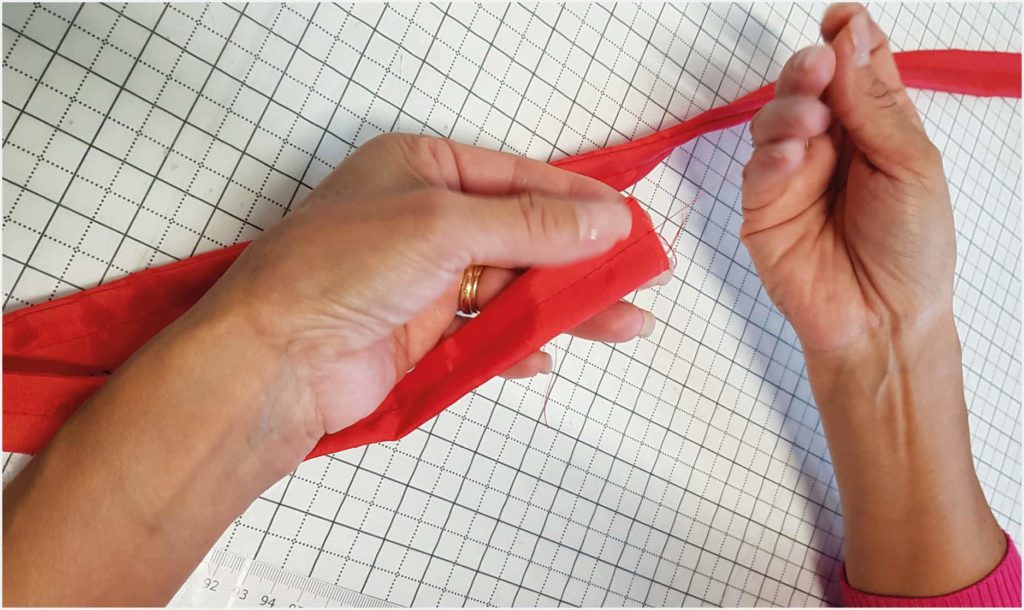
Use the same thread to gather on each side (bobbin thread or spool thread).
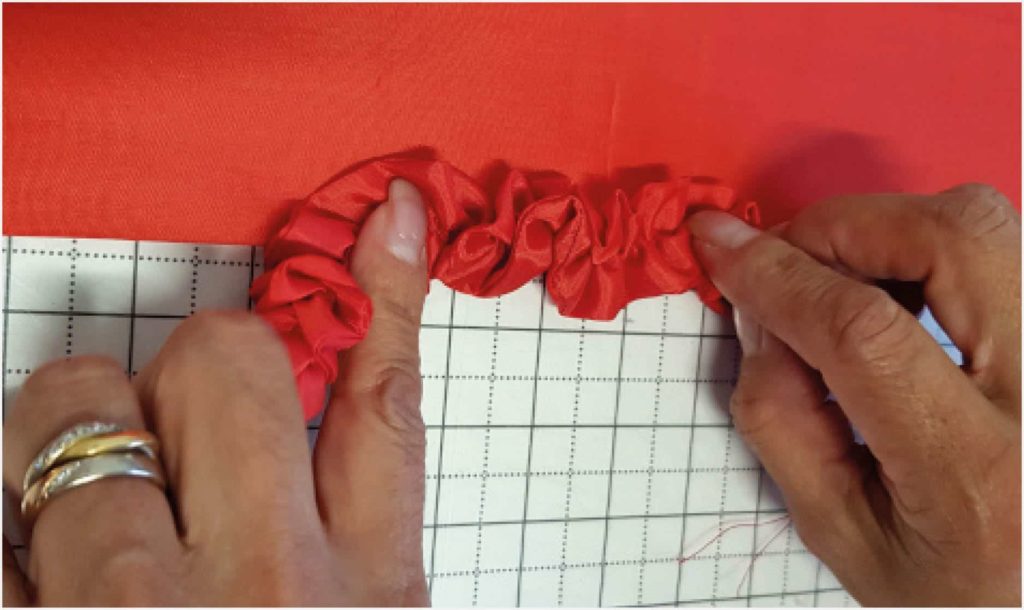
22.
Bring the thread over the fabric and pull on the thread to create the gathers.
23.
Lay the ribbon with the gathers over the hem of the dress. Pin the two fabrics together by matching the markers on the ribbon with those of the dress (sides, centre front and centre back).
24.
Thread a needle with a 16 inch long thread and make a knot.
25.

Hand sew the ribbon over the hem of the dress 1/2” – 5/8” from the edge. Adjust by curling the ribbon to give a floral appearance.
26.
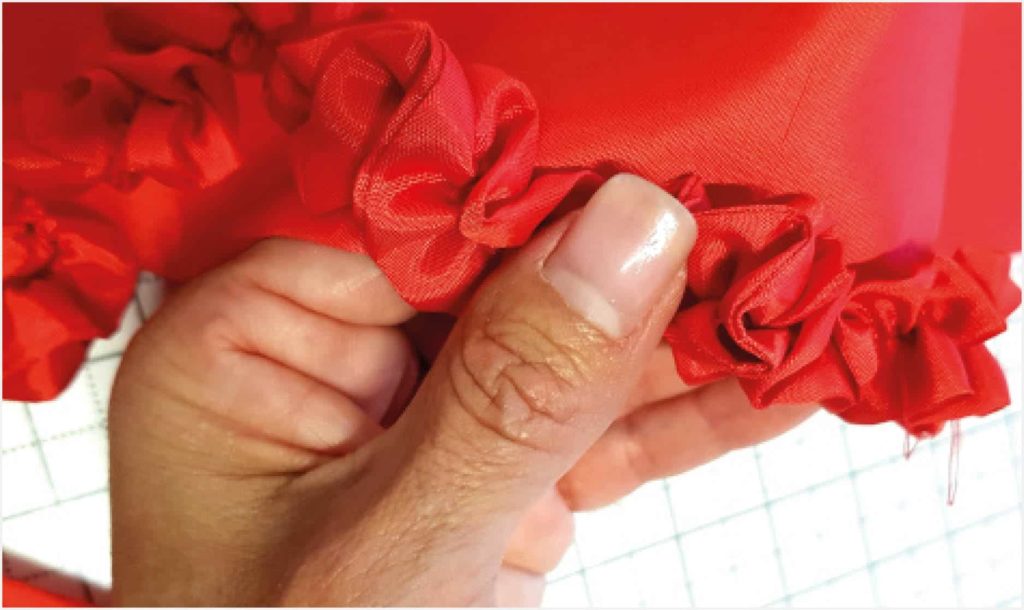
Stitch on the seam between the gathers, and spread the gathers evenly across the width.
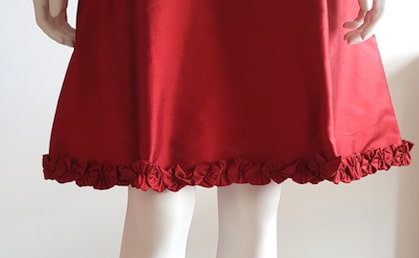
… and now you’ve got gathers!
© © P&L Mercier, all rights reserved.
Copyright
The authorization to use this documentation is hereby granted exclusively for non-commercial use. The contents of this documentation are the sole property ofP&L Mercier. This documentation shall not in any way constitute a right to transfer any rights with respect to copyrights of P&L Mercier to the user or to third parties.