Inspirations
SEWING TUTORIAL:
“Upcycling project
Transformation of a man’s shirt into a blouse”

![]() MATERIALS
MATERIALS
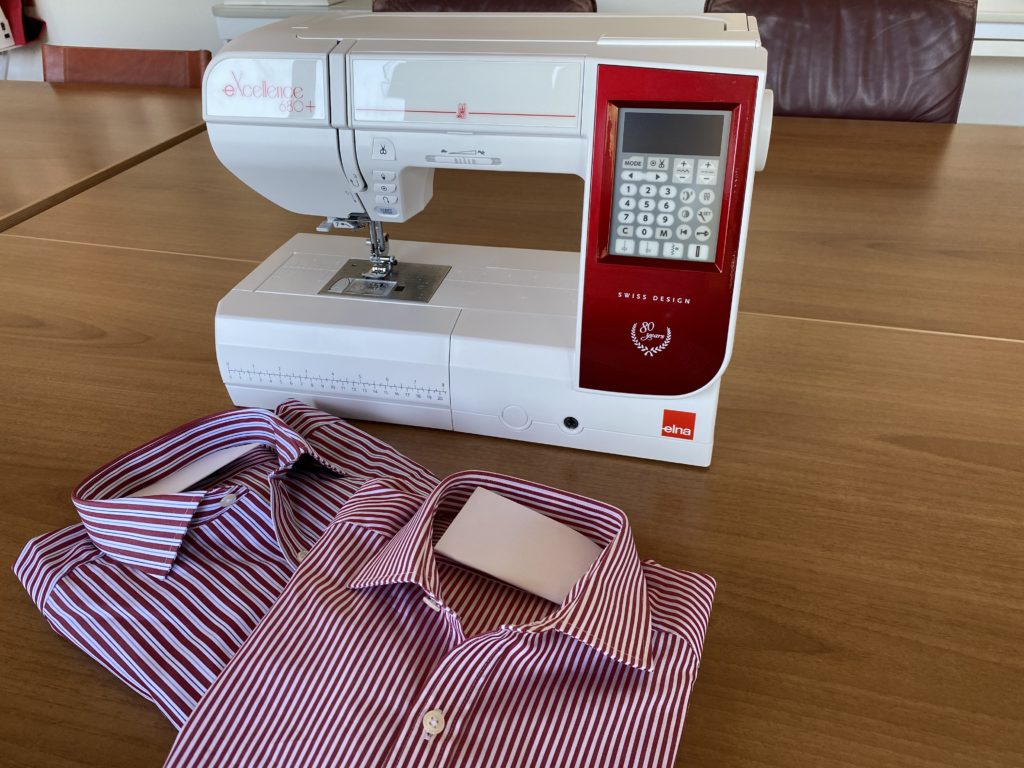
- Two or three matching men’s shirts, any size
- Sewing thread that matches the color of your shirts
- Scissors
- Pins
- Sewing needle
- Measuring tape
- Ruler
- Chalk or fabric marker
![]() MACHINES AND ACCESSORIES
MACHINES AND ACCESSORIES
- Elna computerized sewing machine. In this tutorial we use the eXcellence 680+ special anniversary edition.
- Gathering foot V, ref. no. 202-096-201.
- Bias binder foot foot W, ref. no. 202-099-204, for alternative finish.
The two presser feet listed above are included in the special bonus package included with the eXcellence 680+ anniversary edition. They are also available as optional accessories.
![]() TO PREPARE
TO PREPARE
1.
Choose the shirt that you will use as your base. Cut out the back and the two front parts of the second shirt, and cut out the sleeves and cuffs too. You can include a third shirt to diversify the prints.
• Take the shirt you chose as your base, remove the buttons and cut out the collar along the seam.
•Take the sleeves and measure 9 ¾” from the shoulder seam and 4 ¾” from the underarm seam, draw a line and
then cut.

2.
Fold the shirt right sides together and in half (fold along the middle back). Hold the middle front and neckline together with a few pins. Starting from the edge of the neckline, mark 7/8” on the middle back and 1 ½” on the middle front. Redraw the curve of the neckline by joining these two marks. Cut along the line.
N.B. If you want a higher or lower neckline you can adapt these measurements.
At the bottom of the shirt, add 2” to the desired length of the blouse and cut off the excess.

3.
Choose from the remaining fabric of the second and third shirt and cut out the following
parts:
• Sleeves: Fold the fabric right sides together and cut two 12 ½” X 22” rectangles.
• Neckline facing: place the blouse, folded in half, over the fabric. Draw the outline of the neckline, remove the blouse, add 1 ½” to the facing and 3/8” on the middle front, and cut out.
• Placket: ccut a strip of 1 ¾” X 21 ½” (varies depending on the length of your blouse) as well as a strip of 1 ¾” X 7 ½”.
• Cuffs: cut out two strips measuring 1 ½” X 10 ¼”.
• Belt:
– Lenght:
for a single belt, measure your waist size and add 19 ½”;
for a double belt, measure your waist size, double it and add 19 ½”.
– Width: 12” cut several pieces of fabric from your shirts to obtain the desired length.
Cut several pieces of fabric in your shirts to achieve the desired length.

![]() METHOD
METHOD
1.
Sleeves
Using colored thread, mark the middle top and bottom of the sleeve.
Using the gathering foot, sew the gathers 3/8” from the edge, at the top and bottom of the sleeves.
Straight seam, stitch length 4 to 5 mm. It will be easier to sew these later if you double stitch, ¼” apart.
Fold in two right sides together and sew the underarm seam (12 ½”), stitch 3/8” from the edge and overcast.

2.
Join the bottom and top of the sleeve right sides together, placing the middle marks and underarm seams one over the other.
Sew one cm from the edge and overcast.
Always sew with the gathers on top, as the result will be more attractive and will prevent creases.

3.
Close and sew the two cuff strips 3/8” from the edge. Mark the middle with a pin. Place the seams and markings of the cuff and sleeve on top of each other, evenly distribute the gathers around the cuff, and sew on the side of the gathers. Tuck 3/8” at the edge of the cuff and fold back. Stitch 1/8” from the edge.

Middle front
1.
Cover the placket with the strips of fabric cut previously.
For the right side, cover the entire length.
Lay the fabric strip, right sides together, along the inside seam of the placket and sew.
Fold towards the middle front. Fold the other side over 3/8” and place edge to edge on the middle front and sew 1/8” from the edge.
You can also topstitch the other side 1/8” from the edge.

2.
For the left side, follow the same steps as for the right side, but fold an allowance of 3/8” below the pocket flap. Unstitch and cut the excess of the placket, leaving a one cm seam. Overcast the seam with a zig zag stitch.

3.
Place the right pocket flap over the left one, pin at a height of 6 ¾” from the neckline and sew as follows:

Neckline
Place the neckline facing right sides together, allowing 3/8” to protrude from each side in the middle front, and sew.
Clip the seam allowance in the curve of the neckline.
Fold the facing and topstitch over the seam allowance.
Fold in 3/8” below the facing, repeat on the middle front of both sides. Pin on the reverse side and sew.

Neckline option 2
For a more decorative neckline, use the bias binder foot W.
Follow this link for instructions:
https://global.elna.com/product/bias-binder-foot/

Belt
Sew together the different pieces of fabric cut for this purpose, until the desired length is reached.
Fold your belt in half right sides together.
Cut the ends slantwise, decreasing the length by 5” at each end.
Sew along the red line, leaving about 4” to be able to turn it right side out. Clip over the blue lines, turn over and topstitch a few mm from the edge.

Hem
Once you have reached the desired length, do a double fold. The first fold at ¼” – 3/8” and the second at 1” or 1 ¼”, depending on how much fabric you have left. Iron and sew ¾” to sew hem and 1/8” from the edge for added topstitch.


Congratulations, your blouse is finished! You can vary the colors, as well as the combinations of patterns and finishes to create infinite possibilities!
© Elna International Corp. SA, all rights reserved
Copyright
The authorization to use this documentation is hereby granted exclusively for non-commercial use. The contents of this documentation are the sole property of Elna International Corp. SA. This documentation shall not in any way constitute a right to transfer any rights with respect to copyrights of Elna International Corp. SA to the user or to third parties.